Supplies:
Drill or Hammer & Nail
Kitty Litter Bucket with Lid
Get Started:
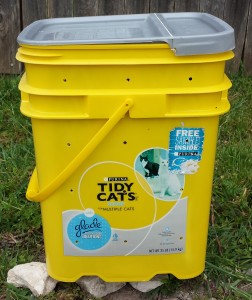
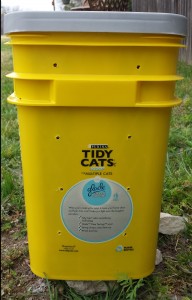
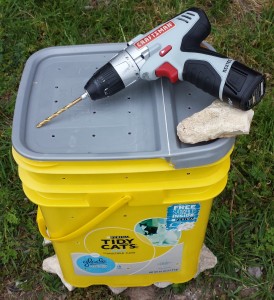
Lay the bucket on its widest side. Drill holes large enough to allow air in yet small enough to keep out pests. I chose to do a linear pattern, but feel free to drill the holes at random or in any pattern you choose. Repeat the process on the other wide side of the bucket.
Tip: I found it worked best to drill into the bucket, reverse the drill, and drill it back out again. That made for a much cleaner hole.
Next, turn the bucket on its narrow side. Drill holes. Flip the bucket over, and drill holes on the other narrow side.
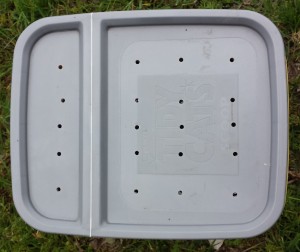
Finally, drill holes in the bottom of the bucket as well as in the lid.
I recommend elevating the bucket on a couple of bricks (I used stones) to allow air to circulate through the bottom of the compost bin as well as allow excess moisture to run out of it. My lid is not the original to the bucket, so I’ve also set a couple of stones on top to ensure the lid stays closed.
The benefit of a small compost bucket is that it’s easy to move. Be sure to shake it, roll it, or open the lid and stir it every few days.
Great idea! Unfortunately, no cat so no cat litter container. I’ll try to find a substitute.
If you want to keep it small, you can use a 5 gallon work bucket from one of the home improvement stores. Home Depot sells their Homer Bucket for $2.97 and lid for $1.68. Lowe’s sells their bucket for $2.98 and lid for $1.38. (Prices are based on online listings.) A larger option is an inexpensive trash can. Walmart has a 32-gallon trash can in their online ad for $9.97. If you want a fun splash of color, Lowe’s has a neat bright blue 32-gallon trash can for $12.48. You might want to bungee the lid before rolling one of those! Just look around the house. Old Rubbermaid container? I was eyeing a bin I used to keep bird food in… Of course, you could always get a cat! Great to hear from you, and let me know what you find to use!