(Warrior Waffles, Sunday Night Pizza, Make Ahead Meatballs, Extraordinary Chocolate Chip Cookies and Ice Cream Sandwiches, Fabulous Frozen Snickers Dessert)
Your freezer is a wonderful asset for saving time and money. Spend a weekend or evening preparing food ahead to store in the freezer. When you’re short on time during the week or get unexpected company, look to your freezer for a simple and quick solution. It’ll save you the time and expense of going out to eat and will most likely be healthier and tastier too.
2 cups Granny’s Pancake Mix*
2 cups buttermilk**
4 TBSP butter, melted
2 eggs, separated
1 tsp vanilla
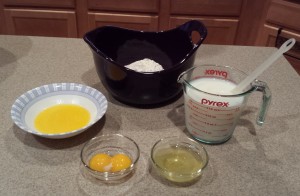
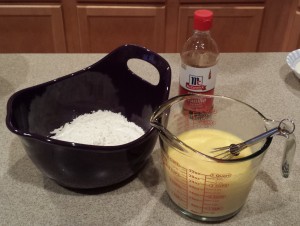
Combine the egg whites with the buttermilk. Combine the egg yolks with the butter.
Stir liquid mixtures together with vanilla.
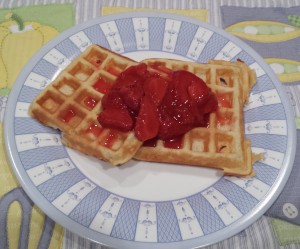
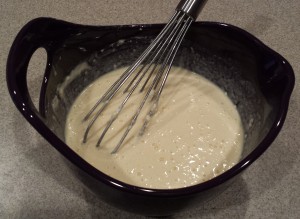
Pour over pancake mix. Whisk for 10 seconds. The batter will be lumpy. Fry on waffle iron.
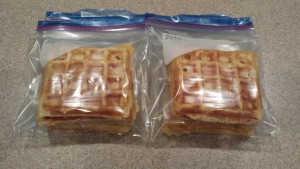
Let the waffles cool, and then package in freezer safe bags or containers. I put two in a bag as that is the amount I will use at a time. For a quick and easy breakfast or brunch, I just pop them into the toaster. You can also reheat them in the oven or microwave.
*The recipe for Granny’s Pancake Mix is found on the Flour, Sugar, Eggs… page.
**If you do not have buttermilk, make your own like I do. Check out the simple recipe on the In a Pinch page.
This recipe makes approximately 12 waffles. If you’re making them ahead to store in the freezer, you may want to double the batch.
Growing up, Sunday nights were always pizza night in my house. It’s a tradition that’s stuck with me throughout the years. So having homemade pizzas in the freezer makes Sunday night dinner a breeze.
Sunday Night Pizza
2 Pizza Crust Mixes
Pasta Sauce
Dried Basil
Dried Oregano
Pizza Toppings: Pepperoni, Onions, Olives, Mushrooms, Green Pepper, Hamburger, Sausage…
Mozzarella Cheese
CRUST:
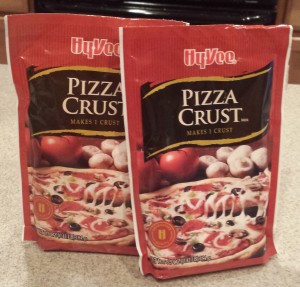
For a quick and inexpensive crust, I use Hy-Vee’s pizza crust mix. It makes a basic no frills crust that doesn’t taste of preservatives like some other brands. Hy-Vee is a grocery store chain up north so the crust mixes are not available here in Texas. I buy them when I’m visiting relatives or have them bring me several packages when they visit. I put the packages of crust mix in a freezer bag and store in the freezer to keep them fresh. If you are unable to get the Hy-Vee mix, try another brand, buy a premade crust or use your own favorite crust recipe. I know my brother really likes the Archer Farms premade crusts at Target. There is no wrong option. It’s simply a choice.
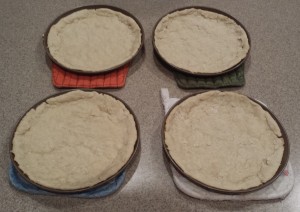
Because I was making extra for the freezer, I used two packages of pizza crust mix. I used individual sized pizza pans so I can pull one serving out of the freezer at a time. Making a little thinner crust, I can get three mini pizzas out of one package of crust mix. Prepare crust mixes per the instructions on the package. Since I used two mixes, I divided the dough in half. I then divided one half into thirds so my crusts would be close to the same size and thickness. With the second half of dough, I took one third for my last mini pan and made a “rustic” pizza crust on a cookie sheet out of the remaining dough for my dinner. I chose to do it this way because I only have four mini pizza pans. Spread the dough by hand (or roll out using a rolling pin and place) onto greased pans, and prebake the crusts until lightly golden brown (400-425 degrees or per package instructions). Let the crusts cool. Because the crusts can be easily removed from the pans, I could have reused the mini pans for the rest of my dough. I could have frozen the pizzas without the pans and simply put them back on the small pans or on a cookie sheet to bake. Have fun with the sizes and shapes. You can make any size pizzas you wish.
TOPPINGS:
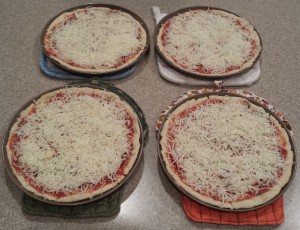
Once the crusts have cooled, spread your pasta sauce over the crusts. Sprinkle some dried basil and oregano over the sauce. Then top with whatever toppings you wish. I used pepperoni and onions. Top with mozzarella or an Italian blend of cheeses. If using a pizza sauce instead of pasta sauce, you may want to omit the extra herbs.
FREEZING:
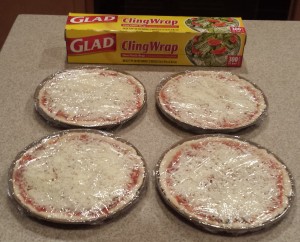
Double wrap each pizza with plastic wrap. I opted to freeze in the mini pans.
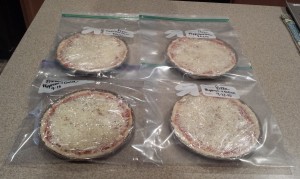
For extra freshness, place each pizza in a freezer zippy bag. Label the kind of pizza and date made on the bag.
BAKING:
Remove the pizza from the freezer, and preheat your oven. Take the pizza out of the zippy bag, and remove the plastic wrap. Bake until cheese is completely melted (I like the cheese browned somewhat). I prefer a hot oven at 400 degrees or could have even gone 425 degrees. My mini pizza took about 12 minutes at 400 degrees.
Meatballs can be used in a variety of ways and are great to have premade in the freezer. Serve with frozen vegetables and a baked potato for a quick hearty meal. They taste great dipped in barbecue sauce. Go Italian with classic spaghetti and meatballs or a meatball sub sandwich. For a great game day appetizer everyone will love, stick them in a crockpot with a zippy sauce. However you decide to serve them, these Make Ahead Meatballs freeze well and will be ready when you need them.
Make Ahead Meatballs
1 small onion, grated
2 tsps dried parsley flakes, optional
1 large egg
3 TBSPs ketchup
1 tsp minced garlic
1 tsp salt
1/4 tsp black pepper
few drops of hot sauce, optional (Schlotsky’s sauce is a good choice. I used Tabasco sauce.)
1/3 cup grated Parmesan cheese
1/4 cup dry bread crumbs
1 lb ground beef
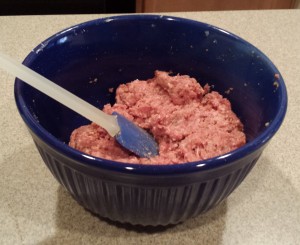
Whisk the first eight ingredients together in a large bowl. Stir in the remaining ingredients.
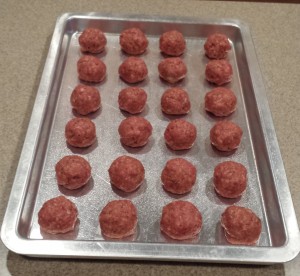
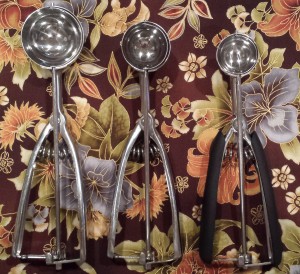
Shape into balls. I used my medium sized cookie scoop to keep the size uniform. Place on a lightly greased jelly roll pan, and bake at 400 degrees for 20-25 minutes or until done. Cool.
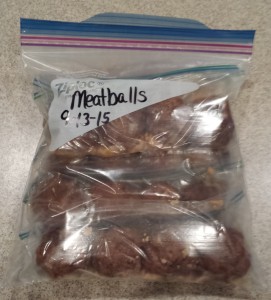
Once the meatballs are completely cooled, place them in freezer safe containers or freezer bags and freeze. Makes approximately 24 meatballs. To freeze for individual servings, I placed 4 meatballs into a snack sized zipper bag and then placed the small bags into a one quart freezer bag. Simply reheat the meatballs in the microwave, oven or crock pot when you’re ready to eat them.
The best way to eat a chocolate chip cookie is warm from the oven. By making cookie dough in advance and freezing it into individual cookie balls, you can easily enjoy fresh warm cookies whenever you get the craving. You just take out how many you want to bake and leave the rest in the freezer for later. The frozen cookie dough may also come in handy when unexpected company arrives or you need cookies in a hurry for a meeting or school function. The Extraordinary Chocolate Chip Cookies recipe makes a big batch of delicious freezer friendly cookie dough. Using the same technique as demonstrated with this recipe, try freezing other kinds of cookie dough as well. I’ve also included a bonus cookie freezer treat idea as well. Enjoy!
Extraordinary Chocolate Chip Cookies
1 1/2 cups butter, softened
1 TBSP vanilla
1 1/4 cups sugar
1 1/4 cups brown sugar
2 eggs
4 cups flour
2 tsp baking soda
1 tsp salt
4 cups chocolate chips
MAKE THE COOKIE DOUGH:
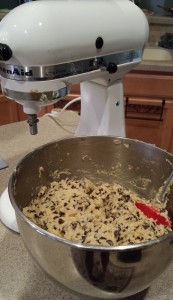
In mixer bowl, beat together butter, vanilla, sugar, brown sugar, and eggs. Mix in flour, baking soda and salt. Mix well. Stir in chocolate chips.
FREEZING THE DOUGH:
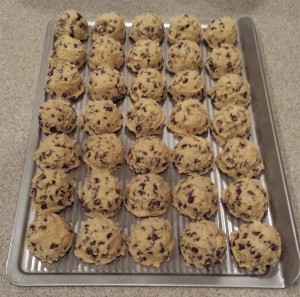
Using a cookie scoop, scoop the dough onto cookie sheets. I used two small cookie sheets for ease of fitting in the freezer. Freeze for 30-45 minutes.
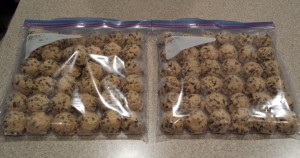
Remove the frozen cookie dough balls from the freezer, and place into freezer bags or freezer safe containers. Freeze.
BAKING THE COOKIES:
Let the cookie dough thaw in the refrigerator.
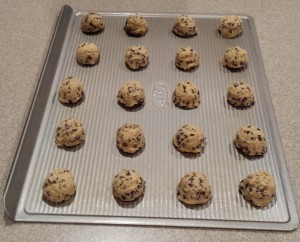
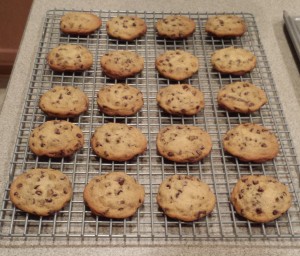
Place the thawed dough onto a cookie sheet. Bake at 350 degrees 10-12 minutes or until light brown.
Tip: King Arthur Flour’s cookie sheets are amazing. I highly recommend you get one for baking. Using a KAF cookie sheet, I do not need to grease the pan. If using a regular cookie sheet, I would lightly grease it with cooking spray.
Cool slightly on cookie sheet. Remove and finish cooling on cooling rack.
Variation: Try substituting a mixture of baking chips for the chocolate chips. Combos of semisweet, vanilla, peanut butter, milk chocolate, and butterscotch chips work well.
Bonus Freezer Treat:
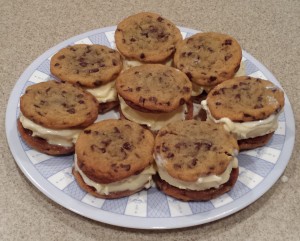
Extraordinary Chocolate Chip Cookie Ice Cream Sandwiches
Once the cookies have completely cooled, scoop vanilla ice cream between two cookies. Press down to make a sandwich.
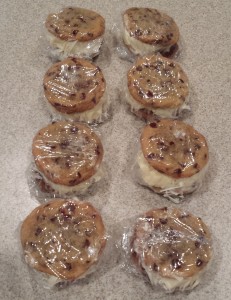
Wrap the individual ice cream sandwiches in plastic wrap.
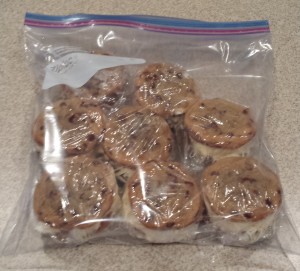
Place the ice cream sandwiches in a freezer bag or freezer safe container. Freeze.
Some occasions call for a special dessert. This Fabulous Frozen Snickers Dessert is so simple to make ahead and have on hand for when such an occasion arises. It’s the perfect conclusion to a fun family meal, makes a great dessert to take to a potluck, and provides an indulgent treat to share with friends along with the spirited conversation and laughter that is sure to ensue.
Fabulous Frozen Snickers Dessert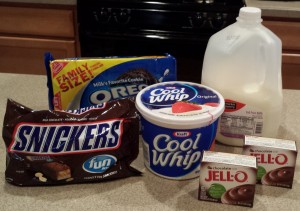
1 regular sized package of Oreos
2 (3.9 oz) packages of chocolate instant pudding mix
3 cups milk
1 (11.18 oz) bag of Snickers fun size bars (about 2 cups chopped, plus some for garnish)
1 (16 oz) large container of Cool Whip
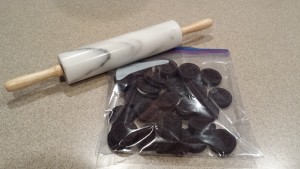
Place the Oreo cookies into a gallon zipper bag, and smash into crumbs using a rolling pin. Please note that I did not use all of the cookies in the family size bag (19.1 oz). That is the size that was featured in a Cartwheel promotion so that is what I had on hand to use. You just need enough to cover the bottom of a 9×13 pan. A regular size bag (14.3 oz) of Oreos works perfectly and still enables you to conduct quality control. I’m a firm believer in a multi-cookie inspection for freshness and flavor. A food processor would also work to make cookie crumbs out of the Oreos.
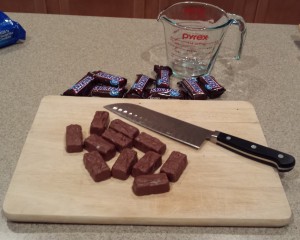
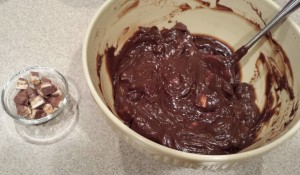
Unwrap the Snickers bars and coarsely chop. You want about 2 cups plus some for garnishing the top of the dessert.
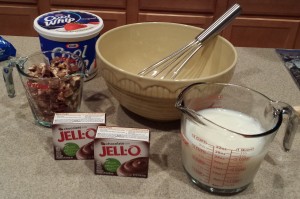
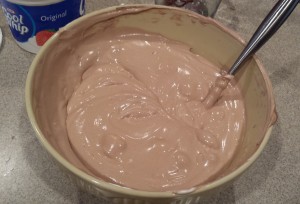
Whisk together the pudding mixes and milk in a large bowl. Let stand for about 2 minutes.
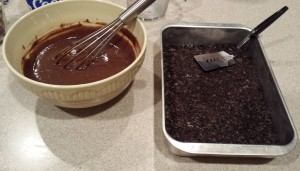
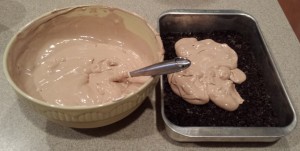
In the meantime, place the cookie crumbs in the bottom of a 9×13 pan. I use a spatula to help flatten them down evenly.
Stir the majority of Snickers chunks into the pudding mixture reserving some for garnishing.
Fold in the Cool Whip making sure to get it all incorporated.
Carefully spoon the pudding mixture over the cookie crumbs.
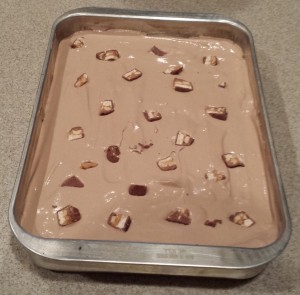
Decorate the top with the remaining Snickers chunks. I press down slightly and try to place some candy on what will be each piece when cut.
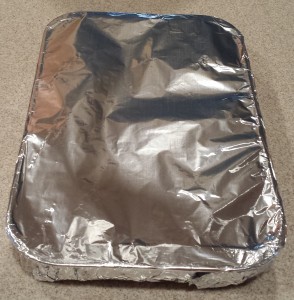
Wrap in plastic wrap and then foil.
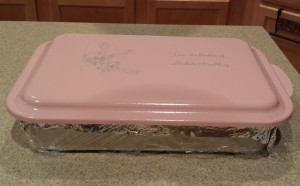
I then added the lid to my pan. Perhaps I went a little overboard. But hey, I for one am protective of my desserts! Place in the freezer.
Serving: Remove from the freezer, and let sit about 15 minutes before serving.
Variation: This is delicious using Reeses Peanut Butter Cups in place of the Snickers.
Wow! Pay me to eat pasta? You bet! Great couponing, Nichole.
I would never have known that a pudding based dessert would freeze well. Thanks, this sounds delicious.